


![[Must-have] Knitting Yarn and Wire Set - Caydo](http://www.caydo.com/cdn/shop/files/3_4c349a4b-7e4d-4fa8-b6df-6561cf08410c.jpg?v=1731059827&width=298)
![[Must-have] Knitting Yarn and Wire Set - Caydo](http://www.caydo.com/cdn/shop/files/1_c1a8ec5f-79f5-4c02-b655-aaba689678cf.jpg?v=1731060862&width=298)


Tools You’ll Need
- A printed design (to outline your pattern)
- Flexible aluminum wire (to shape the design)
- Scissors (for trimming)
- Pliers (for bending the wire)
- A crochet hook (for connecting the cords)
- Pre-knitted iCord strands (different colors to highlight various parts)
Step-by-Step Guide
Step 1: Shape the Aluminum Wire
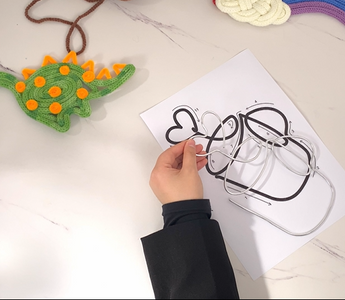
Take the flexible aluminum wire and carefully bend it to match the outline of your printed design. This is a crucial step, as it determines the final structure of your piece.

Step 2: Connect Different iCord Strands
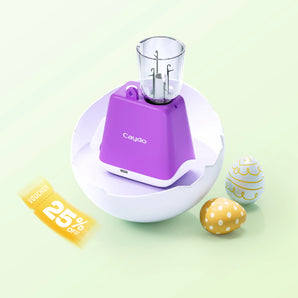
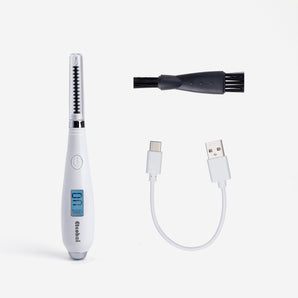
Use the Caydo iCord Knitting Machine to knit cords in different colors, then connect them using a crochet hook. Trim excess threads and secure the ends neatly. The i1 Pro Max kit includes a dual-use crochet tool for easy handling.

Step 3: Measure the Cord Length
Lay the knitted cord over the wire outline to measure the exact length needed for full coverage.

Step 4: Secure the Cord and Adjust the Shape
Thread the iCord strands through the wire and adjust them carefully to ensure a smooth and seamless fit.


You're Done!
Now, your beautiful handmade piece is complete! All the necessary tools are included in our Electric i-Cord Knitting Tricotin Machine i1 Pro Max kit, making it easy to craft your own stunning designs.
Happy crafting! 🎨✨

